In this article, you will learn how to automate giving points or an offer to a member who has installed your app.
Things to Know
-
To add points or offers via Infobip, we require you to enable the Spendgo API and Infobip Flows in your account with your Customer Success Team.
-
You will require a Mobile app integration with Spendgo and Infobip. Please contact your Customer Success Team for details.
-
A unique Add Points/Offers URL will be securely provided to you by a Spendgo Integrations Specialist. This URL is used in combination with your parameters on what offer or how many points is to be added to the member’s account based on the use case. The URL is account specific, it can be used in multiple Communication Flows. If you manage mutliple brands, it cannot be used cross-brands.
-
To add points or offers to customers who download your app, they must already have a Spendgo account or create one. Once the member successfully logs in, this associates the member with the specific mobile app install (and Push Id) and then can be given points/offers.
Create an Infobip Flow to Add Points on App Installs by Members
Before You Start
-
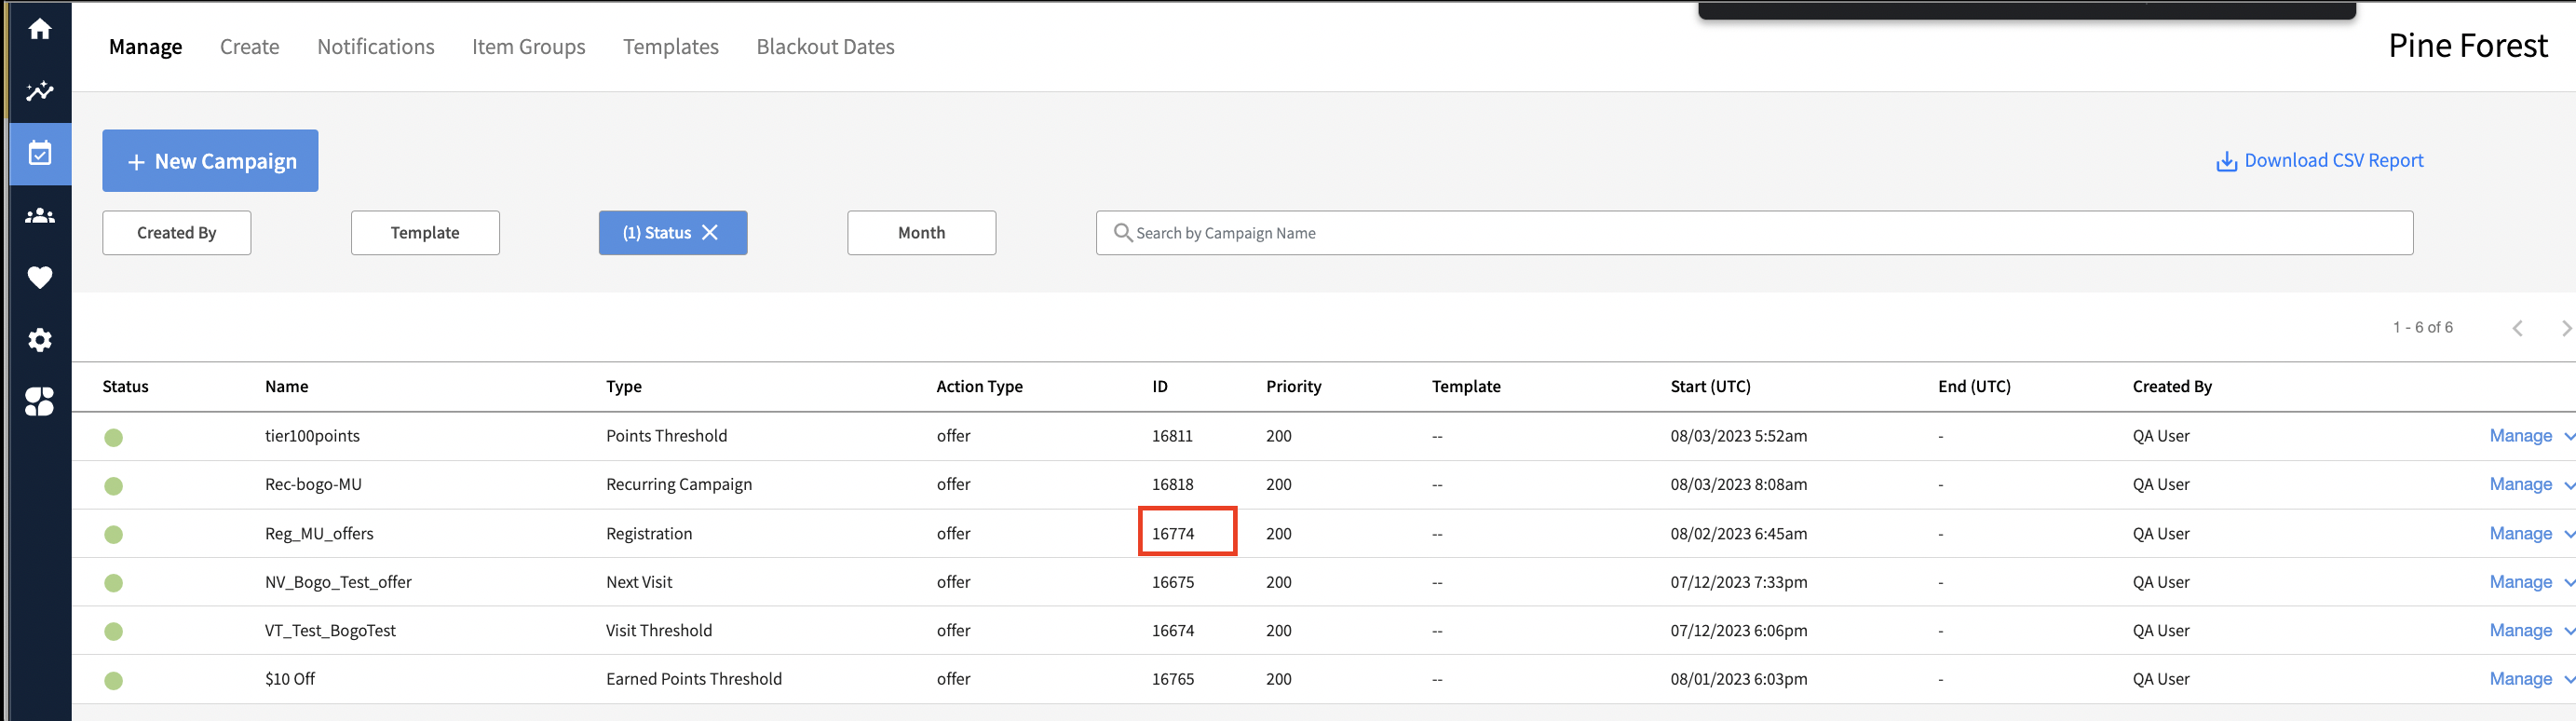
When adding an offer, you must have the Campaign Id for the offer you will be giving out. You can find the Campaign Id in the Campaigns / Manage section of the Spendgo Dashboard. You don’t need this if you are just adding points.
-
You must also have your Add Points/Offers URL. If you do not have this or have misplaced it, please send an approved request to your Customer Success Team for a new one.
-
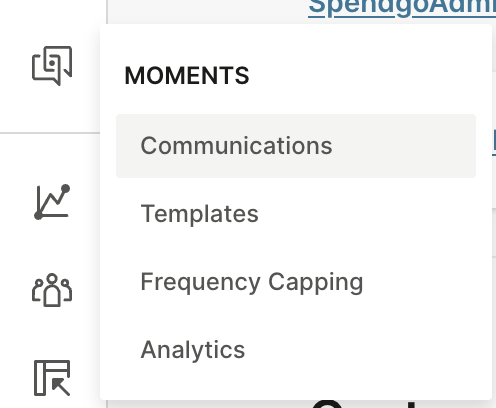
In you Infobip portal, navigate to Moments / Communications.
-
Click Create Flow button
-
Choose + Start from Scratch.
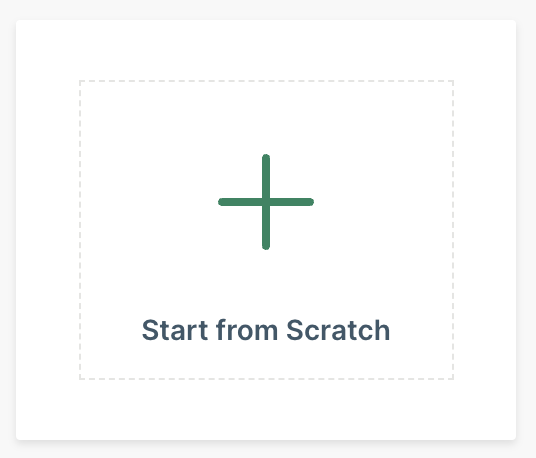
-
Choose Trigger as the way your audience will enter your flow.
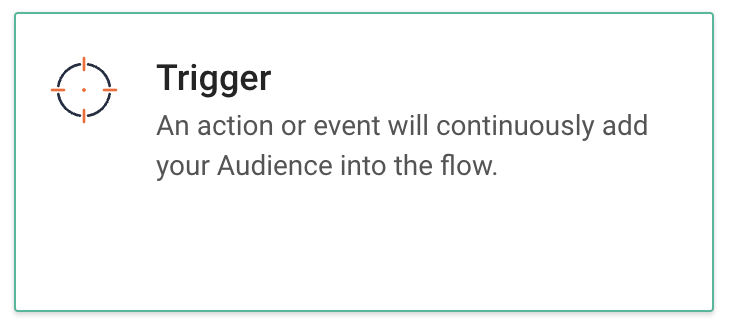
-
Choose your Trigger to be a People Real-Time Event.
-
Define your People Real-Time Event Condition 1 to filter for when a Personalize | happened.
This looks for those when a member signs into the installed mobile app. -
Click Close to close the trigger settings.
-
Click the → right arrow to add an element.
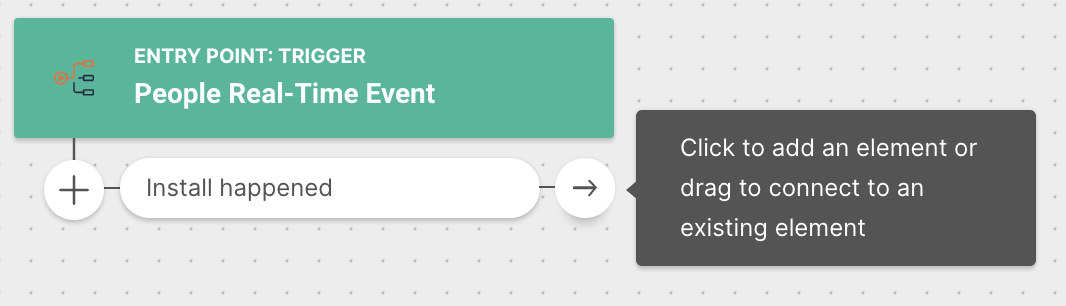
-
Select the Call API element.
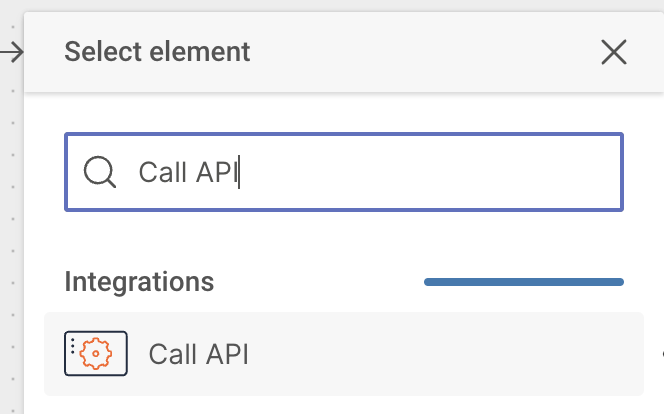
-
Enter in the Request URL input your url provided by Spendgo.
The URL will be formatted like (your exact URL is provided by Spendgo and must be kept secure and not be shared).
https://webservice.<env_name>.com/v2/loyalty/accounts/rewards?auth=<API_auth_key>
This image is only a sample of the Request URL, it does not work. -
Enable escaping of URL parameters (by default this is checked).

-
Choose the Method as Post.

-
Choose the Body / Data Format as JSON.

-
Enter the JSON code in the input field…
-
To add points, copy paste the following code:
IMPORTANT: please replace the 50 value in the below sample,"balance_quantity" : 50with the point value you want to add to member’s accounts for entering the Flow.{ "event_type": "add", "customers": [ { "phone": "+{msisdn}", "reason": "one-time", "category": "Campaign", "source": "Infobp Flow", "details": "Infobip flow", "balance_quantity": 50 } ] } -
To add offers, copy paste the following code:
IMPORTANT: please replace the 16774 value in the below sample,"campaign_id" : "16774"with the Campaign Id you retrieved from the Spendgo Dashboard.{ "event_type": "add", "customers": [ { "phone": "{+msisdn}", "reason": "one-time", "category": "Campaign", "source": "Infobp Flow", "details": "Infobip Flow", "rewards": [ { "campaign_id": "16774", "type": "Offer", "quantity": 1 } ] } ] }
-
-
In the JSON code, highlight {msisdn} and click {} in the right corner to personalize with placeholders. Please note, the “+” prefix is required, do not remove.
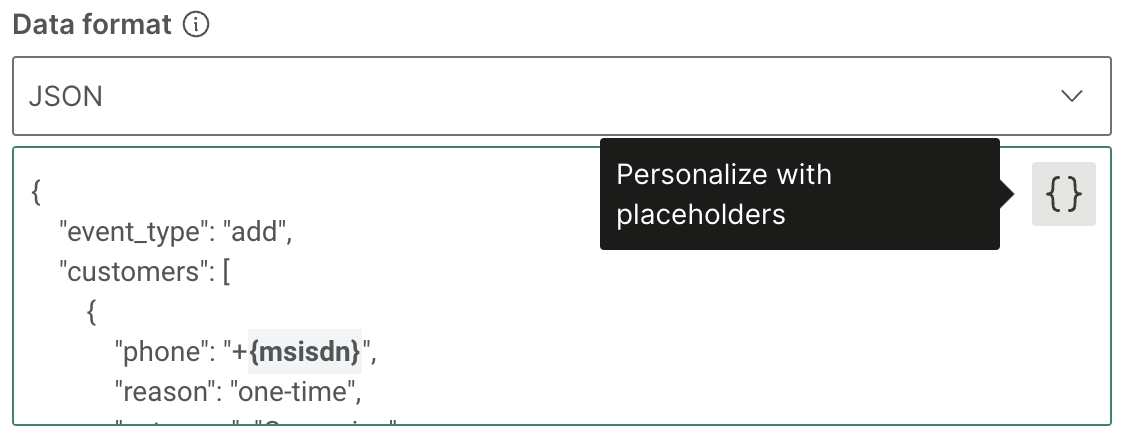
-
Search msisdn and select the attribute.
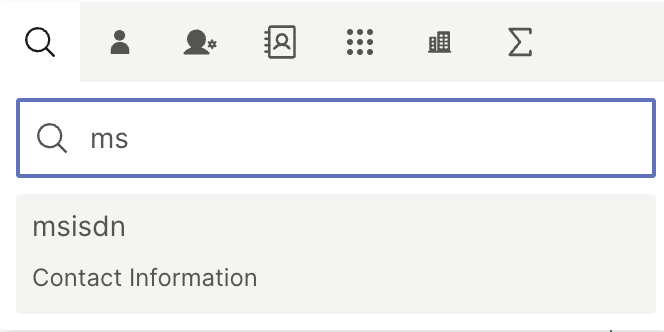
-
The {msisdn} will change from a regular to bold font style. Click Close.
-
Name your Flow at the bottom of your screen.

-
Click Flow Settings at bottom right of screen.
-
Add Condition to the Entry Limitations.
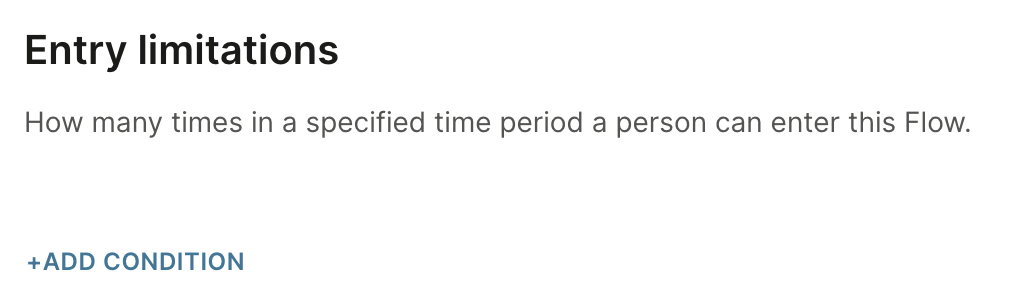
-
Enter your Entry Limitation Condition.
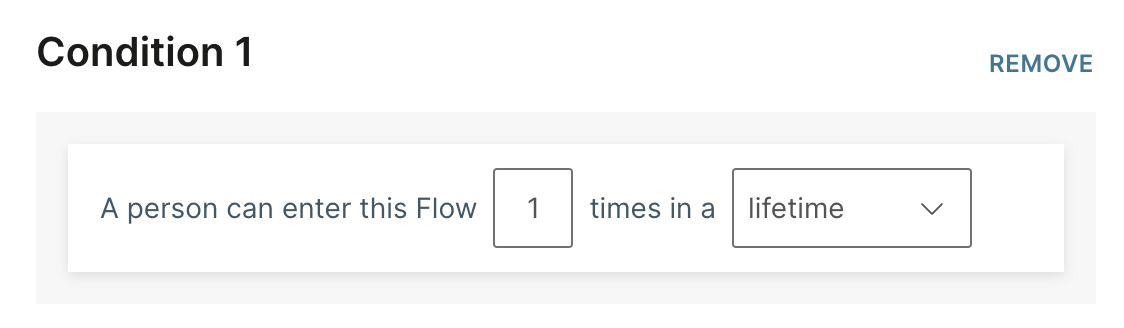
Example: A person can enter this Flow 1 times in a lifetime.
-
Within Flow Settings, click on Scheduling.

-
(Optional) Check the option to Run this Flow indefinitely.
If you do not set your flow to run indefinitely, you can also set a start or date time. If no schedule is set, it will default end 90 days after its been launched.
-
Click the Validate button.
-
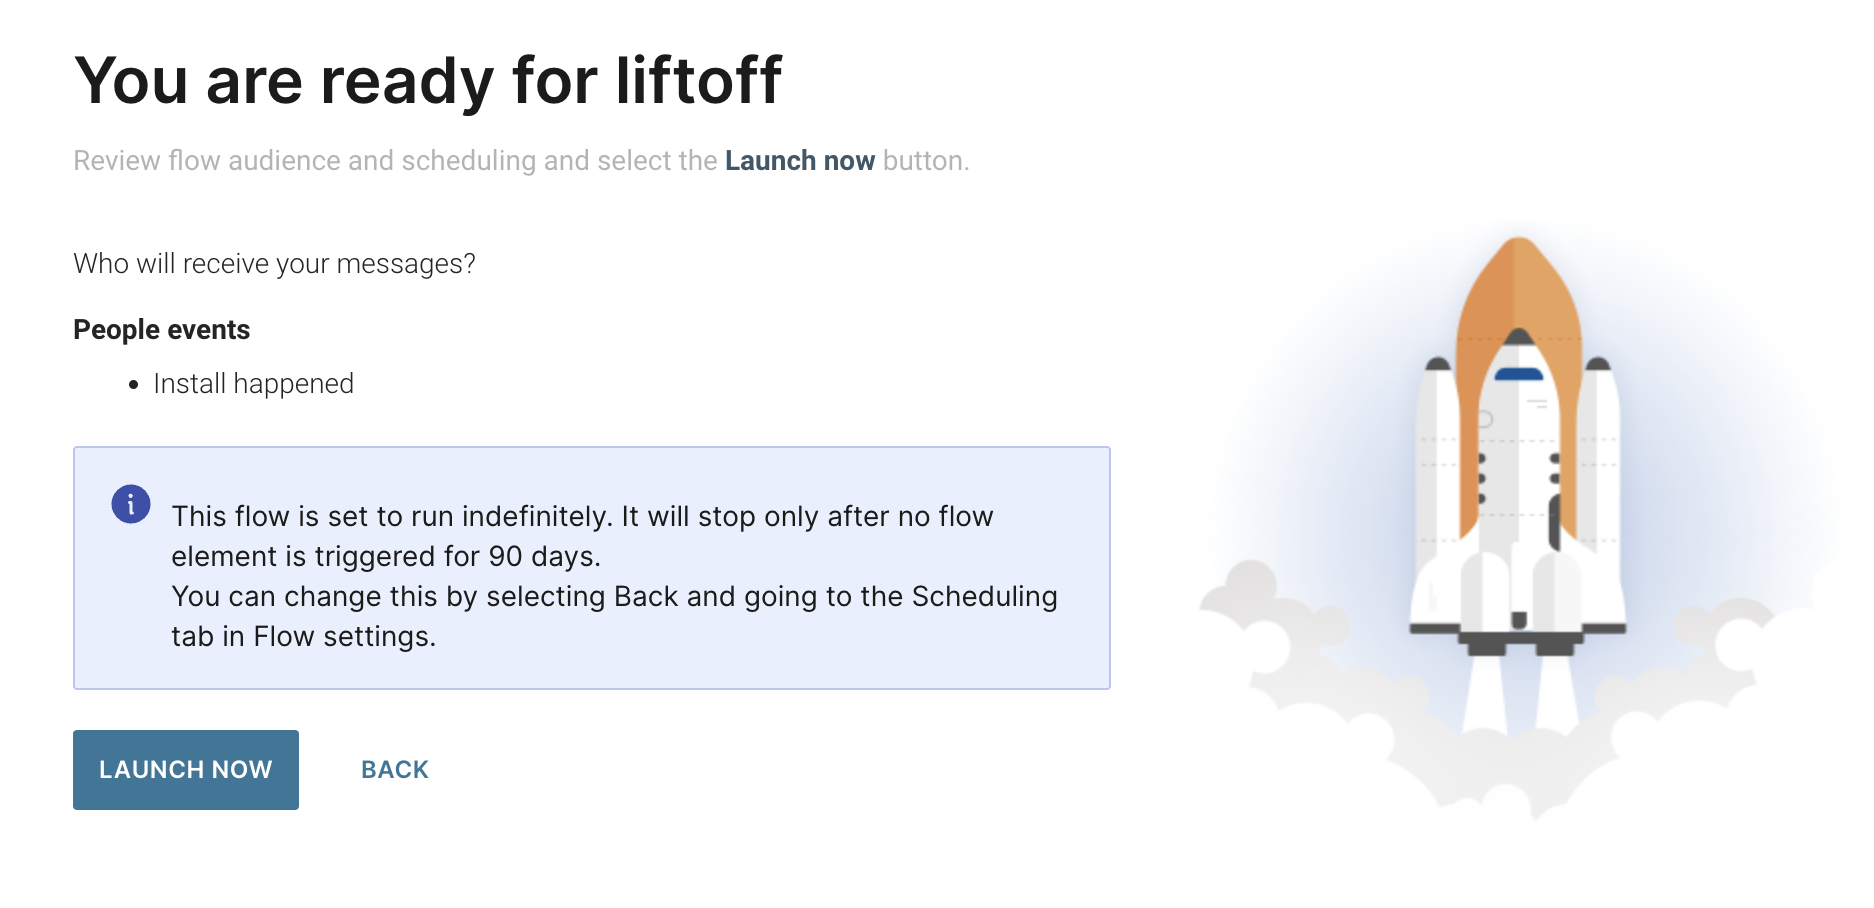
Click the Launch Now button.