
Campaign Examples
-
Birthday Tier 1: Made 0-4 visits within last year.
-
Birthday Tier 2: Made 5-10 visits within last year.
-
Birthday Tier 3: Made 11-15 visits within last year.
Create a Birthday Tier Offer
In this stepped guide, we will build the Birthday Tier 1 for the member’s who have made 0-4 visits and Birthday Tier 2 for the member’s who have made 5-10 visits in the last year (365 days). Each tier will be configured to issue 7 days before your a member’s birthday.
-
Go to the Campaigns.
-
Click the + New Campaign button.
-
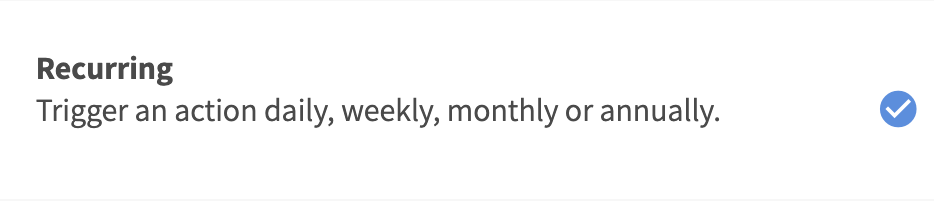
Select the Recurring automation.
-
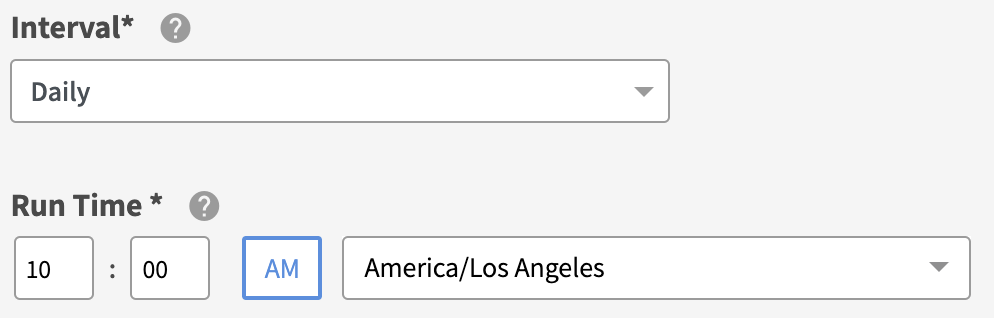
Define the interval to Daily.
-
Set the daily Run Time for the offer to be issued to the lapsed audience, and click Next Step. We recommend it be at least 1 hour before your store opens for the day.
-
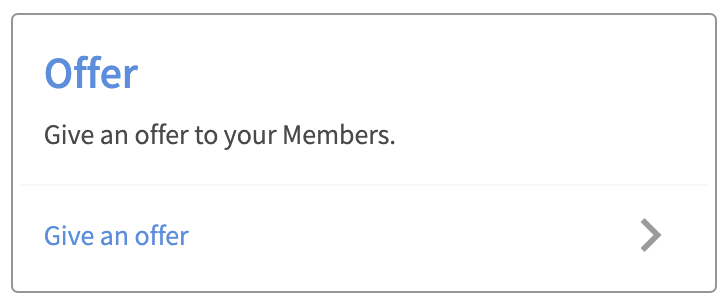
Select the Offer action.
-
Enter your offer details and click Next.
-
Turn the Segment ON, and maintain who you are sending this campaign to as a + New Audience.
Notes: If you have already prepared your audience, select your audience, click Next and skip to step #9.
-
Name your new audience something easily identifiable — such as, Birthday Tier 1.
-
Maintain the Members match all conditions.

-
Click + Add to add an audience filter.
-
Enter the condition Birthday | is in exactly (days) | 7 and click + Add to add a new filter. This will look for member’s whose birthday is in exactly 7 days.

-
Enter the condition Visits | is less than | 5 | within last (days) | 365. This will look for the member’s who made 0-4 visits within the last 365 days.

Notes: The visit filter condition will be the variation between each tier created.
-
-
Enter a unique Campaign Name for your internal reference.
-
Schedule your campaign Start Date and time.
Notes: if you set the start time after the daily recurring run time, the first time the offer is sent out will be the following day after the. campaign start date.

-
(Optional) Schedule your campaign End Date and time. If this is not defined, you campaign will be ongoing with no end date.

-
Review your campaign details and click on Schedule to create your new campaign.
-
To create Birthday Tier 2, repeat steps 1-7.
-
Turn the Segment ON, and maintain who you are sending this campaign to as a + New Audience.
Notes: If you have already prepared your audience, select your audience, click Next and skip to step #9.
-
Name your new audience something easily identifiable — such as, Birthday Tier 2.
-
Maintain the Members match all conditions.
-
Click + Add to add an audience filter.
-
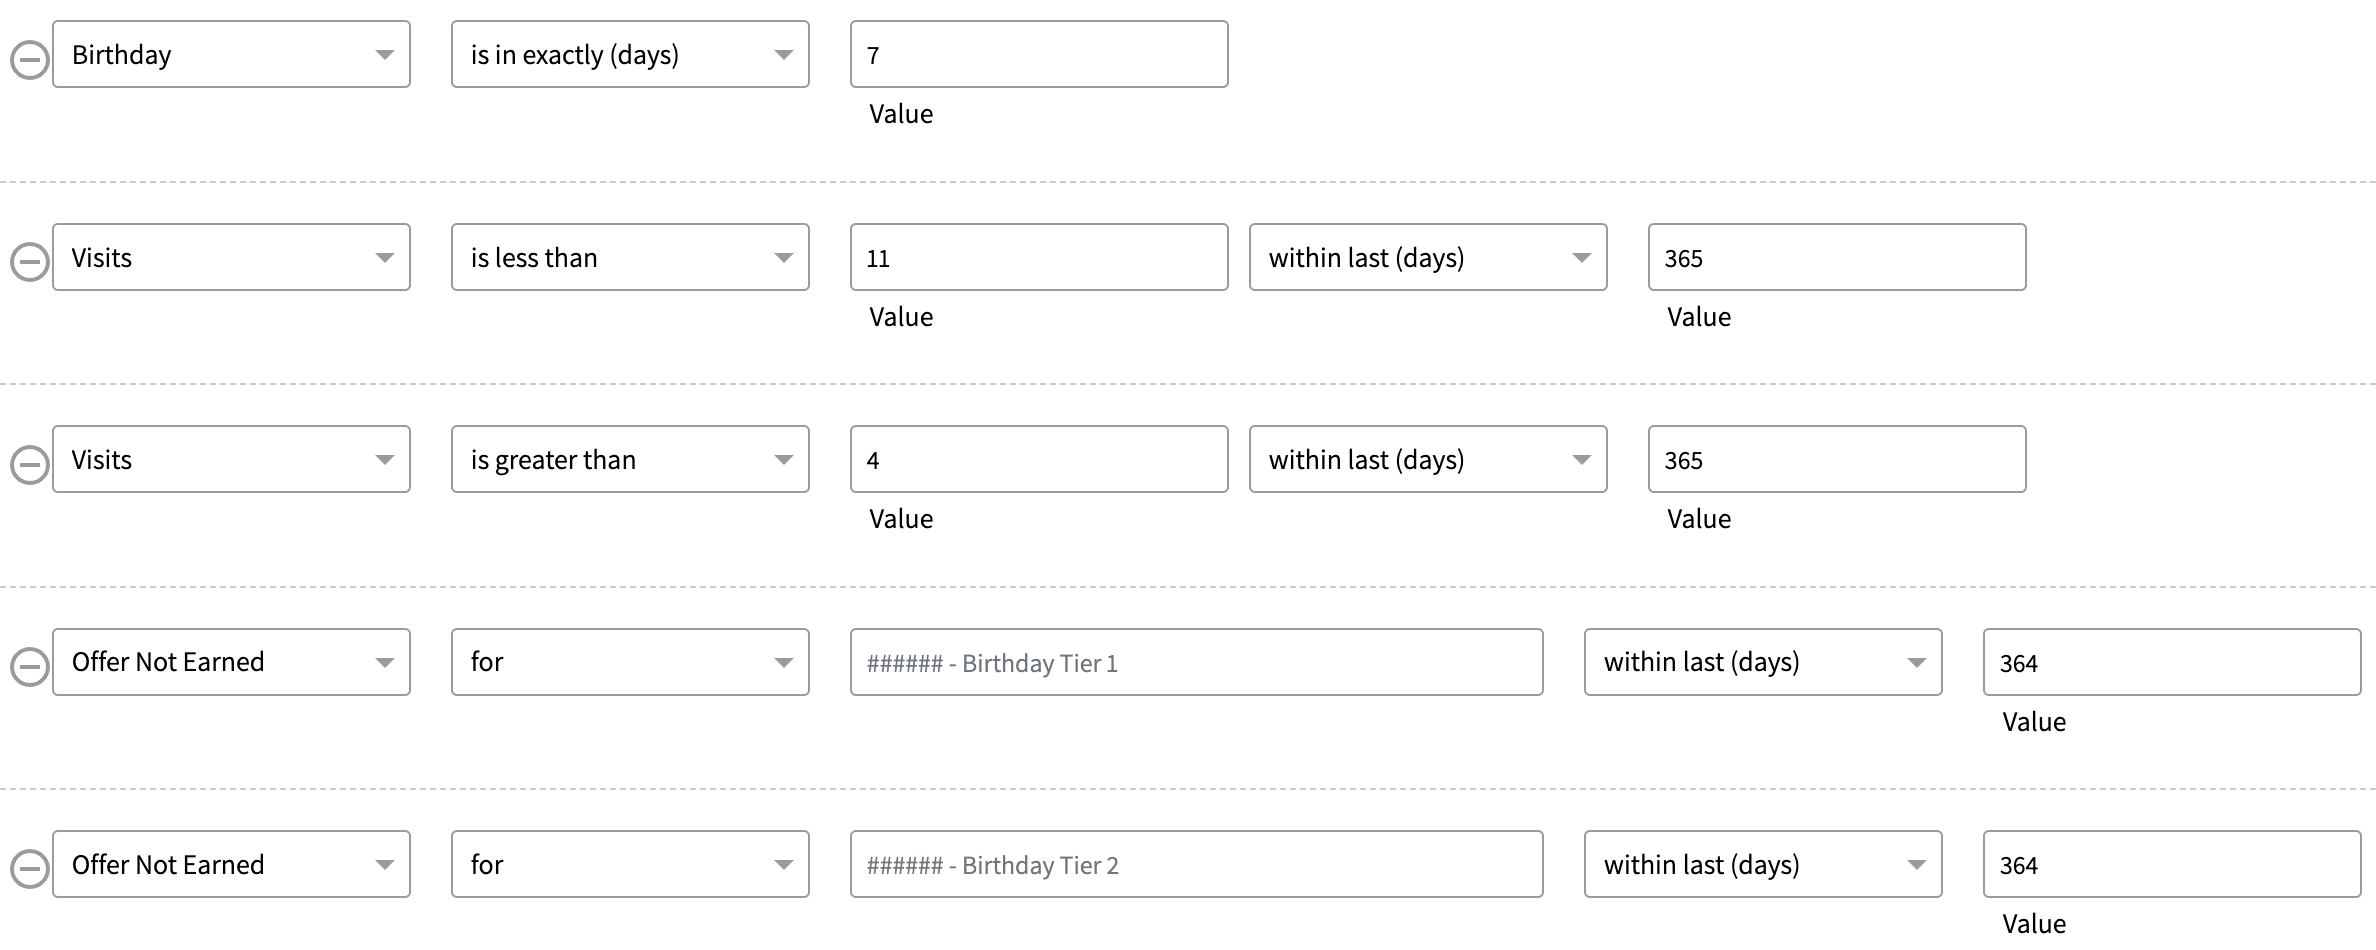
Enter the condition Birthday | is in exactly (days) | 7 and click + Add to add a new filter. This will look for member’s whose birthday is in exactly 7 days.
-
Enter the condition Visits | is less than | 11 | within last (days) | 365 and click + Add to add a new filter.
-
Enter the condition Visits | is greater than | 4 | within last (days) | 365 and click Next Step.
-
-
Enter a unique Campaign Name for your internal reference.
-
Schedule your campaign Start Date and time.
Notes: if you set the start time after the daily recurring run time, the first time the offer is sent out will be the following day after the. campaign start date.
-
(Optional) Schedule your campaign End Date and time. If this is not defined, you campaign will be ongoing with no end date.
-
Review your campaign details and click on Schedule to create your new campaign.
-
Go to Audiences.

-
Choose to Manage / Edit your Birthday Tier 1 audience.
-
Click + Add to add an audience filter.
-
Enter the condition Offer Not Earned | for | Select your Birthday Tier 1 offer you created | within last (days) | 364 and click + Add to add a new filter. This will limit members to earning a birthday offer only once a year.
-
Enter the condition Offer Not Earned | for | Select your Birthday Tier 2 offer you created | within last (days) | 364. This will limit members to earning a birthday offer only once a year.
Notes: if you have more than 2 tiers, you will have to repeat this step for every birthday offer tier you have created to prevent member’s from earning any of the birthday tiers more than once annually.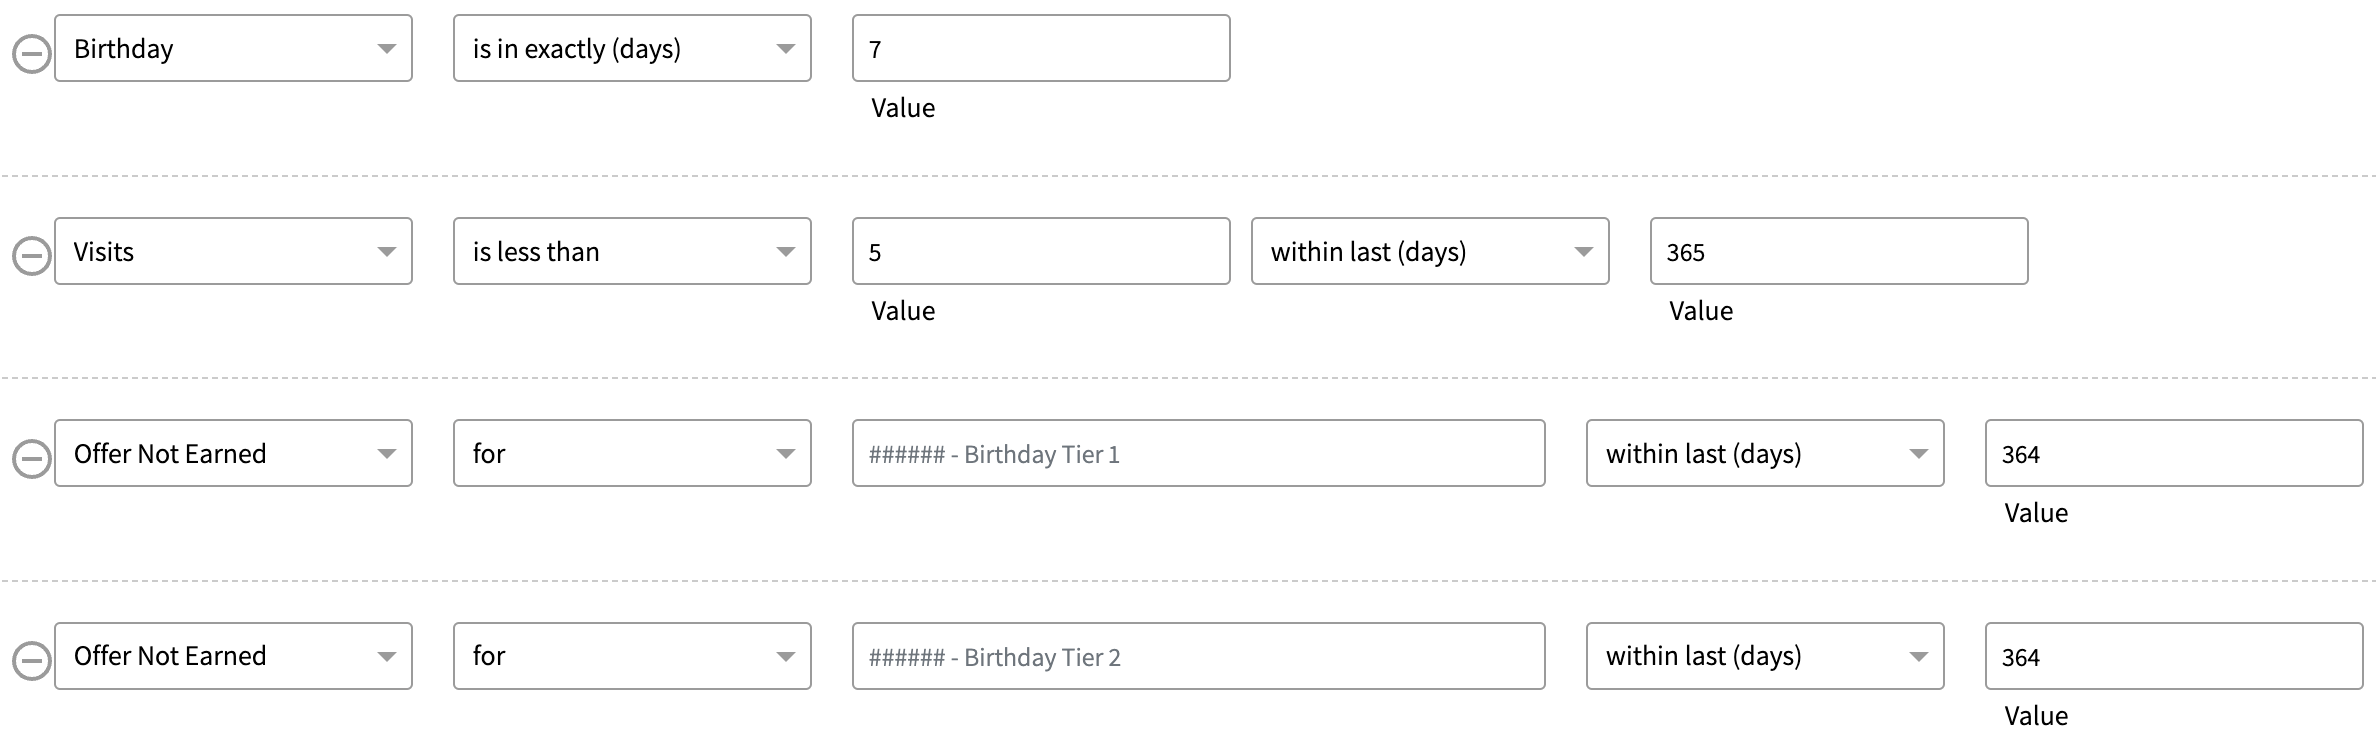
-
Save your changes.
-
In your Audience page, choose to Manage / Edit your Birthday Tier 2 audience and repeat step #22-23.
-
Save your changes.
Notes: you will have to repeat this for every additional tier you have created (i.e. if you created 3 tiers, please add the Offer Not Earned filter conditions for each tiered offer, to each audience tier).