
A Date & Time campaign allows you to send a text message, offer, or email at a scheduled time. This is a great way to schedule offers to a specific audience and reach your text or email subscribers with special, upcoming, exclusive, or ongoing promotions. You have a range of ways to filter your audience in order to reengage a member who hasn’t shopped in a while or reward your big spenders. Your options for engagement are endless with an easy to setup and deploy Date & Time campaign!
Things to Know
-
Date & Time Campaigns will always display the same start and end date (you only set a start time) in the dashboard because they are one-time triggers that begin and end immediately. However, the offer distributed through the campaign follows its own expiration rules, which are separate from the campaign's automation.
-
When crafting your text message content, it’s important to understand compliance before you send a message. Prior express written consent from your customers is mandatory. Check out the Text Message Compliance guide for more information.
It is always a good idea to contact an attorney to seek additional advice pertaining to TCPA (Telephone Consumer Protection Act) and SMS —text marketing best practices in general.
-
Email actions are only supported with Infobip integration:
-
The Infobip Email Provider requires the mailing must be configured as a Broadcast template to work.
To retrieve your Broadcast Template ID, navigate to your Broadcast Templates and find the ID number ( # ) at the bottom right corner of the template module. If you have not already created your template, create your Broadcast Template. Note, only Infobip “Broadcast” Templates can be used for notifications.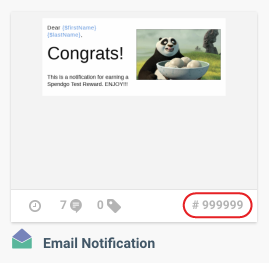
Send a Date & Time Text Message Campaign
-
Go to the Campaigns / Create.
-
Select the Date & Time automation and click Next Step.

-
Select the Text Message action.
-
Enter your Text Message content.

-
To test your message, click Send Test Message. Enter the test mobile numbers separated by commas and click Send Test. This will send a one time test message to the mobile number(s)entered.
-
-
Schedule Send time and click Next Step.

-
Set your target audience.
-
To target all members, leave the audience Segment OFF.
-
To target a specific audience, turn Segment ON. Select an existing audience or Create and Send to an Audience within the builder.
-
-
Click Next Step.
-
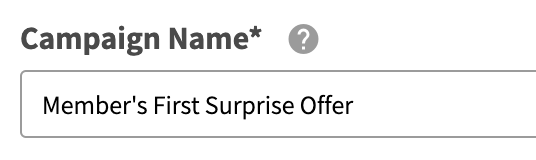
Enter a unique Campaign Name for your internal reference.
-
Review your campaign details and click on Schedule to create your new campaign.
Send a Date & Time Offer Campaign
-
Go to the Campaigns / Create.
-
Select the Date & Time automation and click Next Step.
-
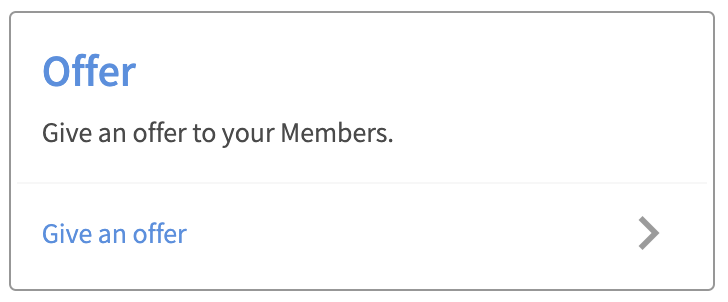
Select the Offer action.
-
Define your offer parameters and click Next Step.
See Offer Configuration Options for details on how to configure your offers. -
Set your target audience.
-
To target all members, leave the audience Segment OFF.
-
To target a specific audience, turn Segment ON. Select an existing audience or create a new audience within the builder.
-
-
Click Next Step.
-
Enter a unique Campaign Name for your internal reference.
-
Schedule your campaign Start Date and time.
-

Review your campaign details and click on Schedule to create your new campaign.
Send a Date & Time Email Campaign
-
Go to the Campaigns / Create.
-
Select the Date & Time automation and click Next Step.
-
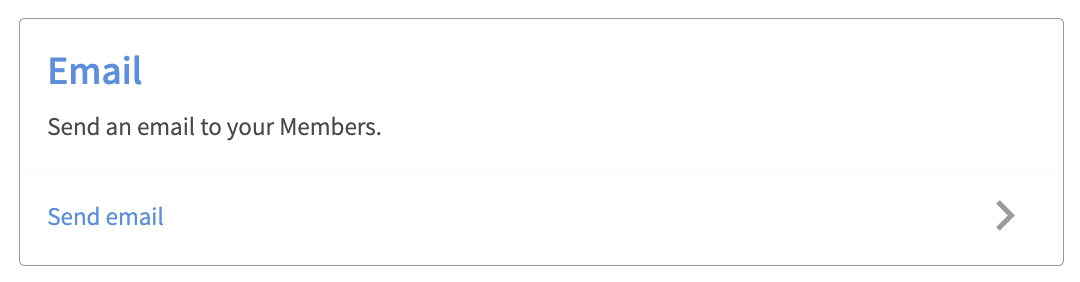
Select the Email action.
-
Enter your Infobip Broadcast Template ID of the mailing you want to send and click Next Step.
Note the email template must be a Broadcast template to work.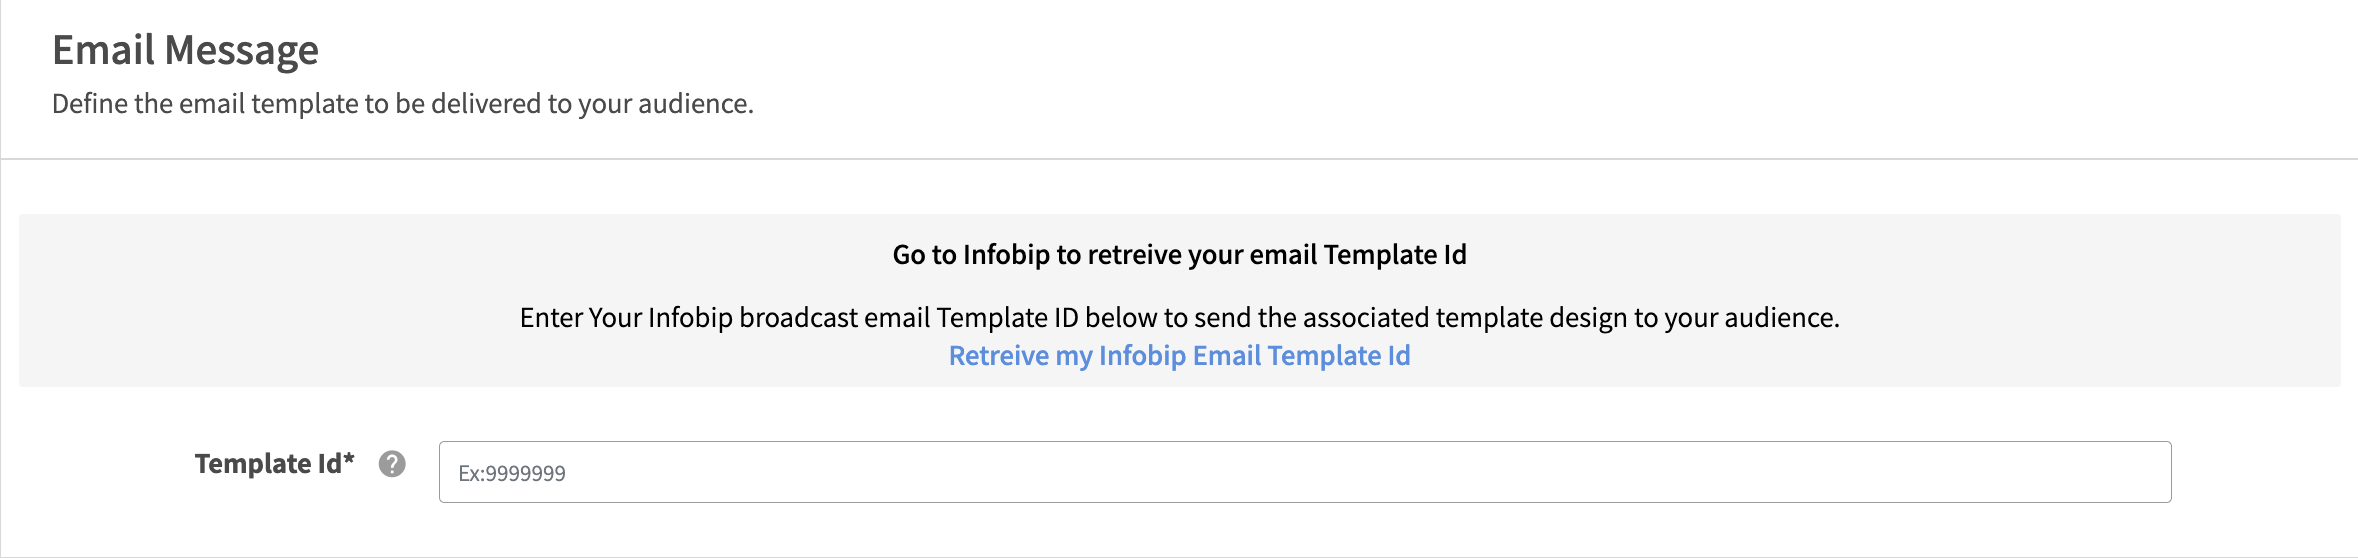
-
Set your target audience.
-
To target all members, leave the audience Segment OFF.
-
To target a specific audience, turn Segment ON. Select an existing audience or Create and Send to an Audience within the builder.
-
-
Click Next Step.
-
Enter a unique Campaign Name for your internal reference.
-
Review your campaign details and click on Schedule to create your new campaign.